Self-hosted tracker on your own VPS: requirements, installation and backups
Which server to get, what the installer asks, how to check the result and how to set up backups you can actually restore from.
A self-hosted tracker is a tracker that runs on your server: clicks, conversions, offers and payouts sit in your databases, not the vendor's. You pay for that with attention: you have to pick a server, install the tracker and back up the data. The good news is that all of this is done once and is almost entirely automated.
Below is a practical guide for inotrack: which VPS to get, what the installer asks, how to check that everything came up, and how to set up backups so that they are actually useful when you need them. Whether you should choose your own server at all is the subject of a separate article on self-hosted and cloud trackers (in Russian).
What server you need
System requirements:
- Ubuntu or Debian, an LTS release. On other distributions the installer stops.
- Free ports 80 and 443: the tracker's web server obtains Let's Encrypt TLS certificates itself.
- Root access over SSH.
- Docker and docker compose. If they are missing, the installer sets them up.
Hardware requirements:
| Minimum | Recommended | |
|---|---|---|
| CPU | 2 vCPU | 4 vCPU |
| Memory | 4 GB | 8 GB |
| Disk | 15 GB | 160 GB NVMe |
The recommended configuration is sized for 1–10 million clicks a day. On the minimum configuration the installer warns you but carries on. The disk is the exception: with less than 15 GB free, the installation will not proceed without explicit confirmation.
Disk matters more than CPU
The main consumer of space is the event database: raw clicks, conversions and postbacks. The rule of thumb from the documentation is 100–300 bytes per click after compression. Clicks are kept for 13 months by default.
| Clicks per day | GB per month | Over 13 months |
|---|---|---|
| 1,000,000 | 3–9 | 40–115 |
| 5,000,000 | 15–45 | 195–580 |
| 10,000,000 | 30–90 | 390–1170 |
Two practical takeaways. First: at a million clicks a day the event database fits into 160 GB for the whole retention period; at ten million that disk lasts a few months, and after that you need a bigger disk or a shorter retention period. Second: the disk must be NVMe. On network storage or an HDD the event database cannot keep up with writes at peak load.
How much memory you need
The event database, the relational database, Redis and the tracker core share one server. Redis stores click uniqueness keys, caps and postback deduplication keys. The last of these live for 30 days and grow with the number of conversions, not clicks. The installer gives Redis a quarter of the server's memory, but no less than a gigabyte. When the limit is exhausted, Redis does not silently evict keys but refuses writes: caps and deduplication must not be lost quietly.
Domains and DNS
The tracker needs at least two domains: one for the panel, and one or more for receiving clicks.
- The A record must point at the server before installation. The installer checks this.
- DNS only, no proxying. Click domains must lead straight to the server's IP. A proxying CDN in front of the tracker gets in the way of issuing the certificate. If you do need a proxy, you can skip the DNS check with a flag, but you will have to set up certificate issuance separately.
- No domains of your own? Not a problem. The installer can issue two free domains: one for the panel and one for clicks. The A record pointing to your server is created automatically. The server itself needs a public IPv4 address.
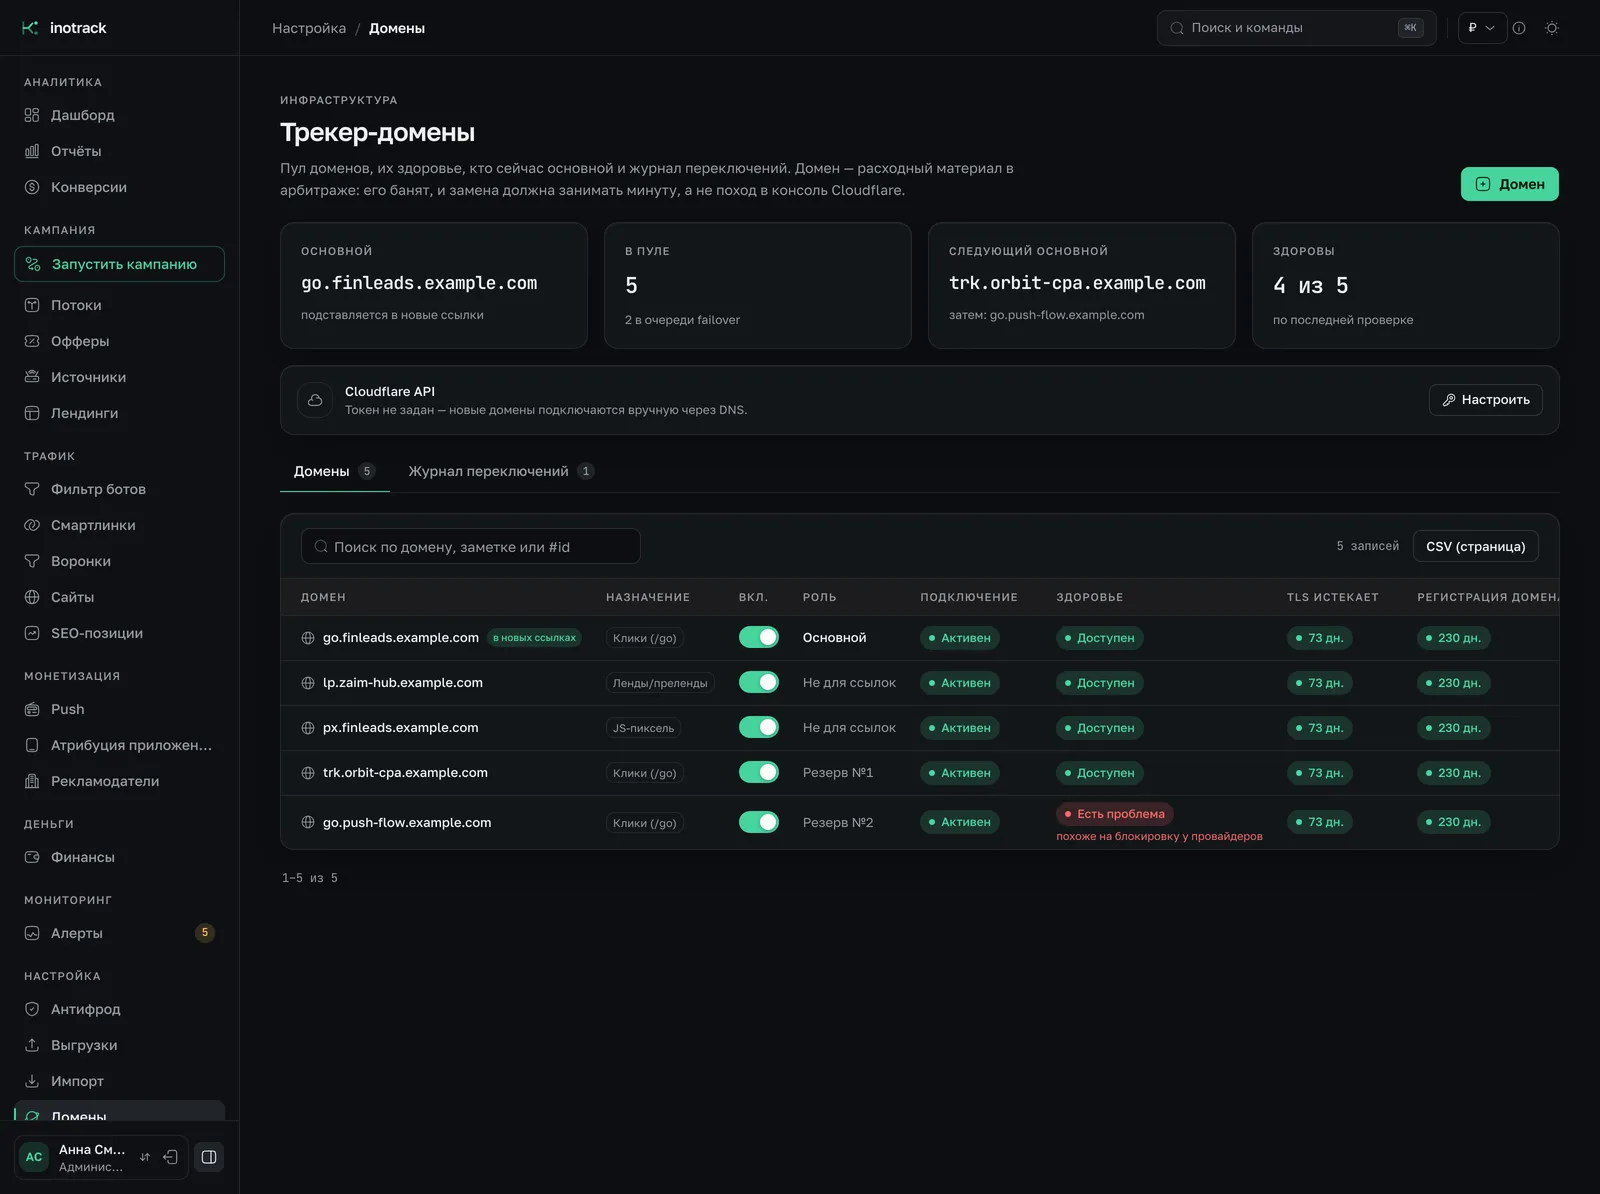
Later, domains are added from the panel without a restart. How the domain pool, the checks and automatic failover to a backup domain work is described on the tracker domains page (in Russian).
License or trial
You need a license key to install. You can buy one on the pricing page: payment is in USDT, and the key is shown on the order page and sent by email.
No key? The installer will set up a 7-day trial: press Enter at the key prompt and enter your email, and the key arrives by email. One trial per address and one per server.
Installation
One command:
curl -fsSL https://get.inotrack.run/install.sh -o install.sh && bash install.sh
The script is first downloaded to a file and only then run, and that is deliberate. The "download and pipe straight into the interpreter" pattern silently runs empty input when the network fails, and you never see the error.
The installer asks for:
- the license key, or Enter for a trial;
- whether to use the free domains;
- the panel domain and the tracker domains, comma-separated;
- an email for Let's Encrypt;
- the instance role: keep the default, "everything on one server";
- the report time zone: Moscow by default;
- the base currency: the US dollar by default;
- the email of the first administrator.
After that it works on its own: it checks the system, resources and ports, installs Docker, generates secrets, activates the license, starts the containers, applies database migrations and creates the first administrator.
At the end it prints a one-time summary with the administrator's login and password. Save it right away: the password will not be shown a second time.
For bulk deployments there is a non-interactive mode: all answers are passed as flags or in a file.
Checks after installation
The tracker on the server is managed with the tracker-ctl utility. Two commands you need to know from day one:
tracker-ctl status
tracker-ctl doctor
The first shows the state of the containers. The second is diagnostics in one command: DNS and certificates for every domain, the connection to the license server, database availability, click buffer lag, the postback queue, free space and how fresh the last backup is. Start with it whenever something is wrong: it prints a specific list of what is broken, not a general log.
Then open the panel domain and sign in as the administrator from the summary. The panel immediately offers to set up two-factor authentication. Do not put it off. An empty dashboard shows a launch checklist in place of the chart: source, offer, flow, domain, first clicks, postback, first conversions.

The fastest way through it is the "Launch campaign" wizard, described in the quickstart.
Typical problems
- The A record is not ready. The installer stops at the pre-check. Wait for DNS to update.
- Ports 80 or 443 are taken. Another web server is already running on the machine. Free the ports, or the certificate will not be issued.
- The key fails activation. Check the key's expiry date and that the server can make outbound HTTPS requests.
- Containers are unhealthy after the first start. On a slow disk the databases take longer to start. Wait and run the check again.
Backups
This is the section that makes the article worth reading to the end. Your own server means you are responsible for keeping the data safe.
What goes into a backup
The tracker-ctl backup command builds a single archive:
- a full dump of the relational database: offers, flows, users, settings;
- a dump of the event database: clicks, conversions, ad spend;
- a copy of the settings file;
- uploaded landing pages and files;
- the license directory.
The installer sets up a daily schedule at 03:00 right away. Local archives older than 14 days are deleted automatically.
The largest event tables are backed up incrementally: in full once a week, and on the other days only what has been added. You do not need to choose a mode; the command decides. When you restore from an increment, the whole chain is found and applied automatically.
A backup on the same server is not a backup
A local archive sits on the same disk as the data. If the disk dies, everything is gone. So the main step is an off-site copy in object storage at another provider:
tracker-ctl backup keygen
tracker-ctl backup schedule daily --to s3://bucket/prefix
The first command creates an encryption key; the second sets up a daily timer that uploads the archive. Any S3-compatible storage works. The endpoint and access keys go into the server's settings file, not onto the command line.
What happens during an upload:
- Encryption. The archive is encrypted before it is written to disk. Without an encryption key nothing is uploaded off the server: the archive holds your whole business.
- Verification. After the upload, the size and checksum are compared. An object that fails the check is deleted, and the command exits with an error.
- Rotation. The bucket keeps the 14 most recent archives. A full backup that remaining increments depend on is not deleted.
The encryption key
Keep the key separately from the server and from the backups, in a password manager. It is stored in the server's settings, that is, on the very machine that can die. The key does not go into the archive itself. A lost key is a lost backup: the archive cannot be decrypted without it.
Restoring
tracker-ctl restore --from s3://bucket/prefix
The command takes the most recent archive, verifies the checksum and asks for confirmation: a restore overwrites the current data. The settings file from the archive is not applied automatically. It is placed alongside for you to compare by hand.
An important detail about the license: a backup carries the instance fingerprint, and a restore on a new server brings it back. For the license server this is the same installation, not a new one. If you need a second copy next to a running one, a test copy for example, add the --new-instance flag. Otherwise the copy will pass itself off as the original.
Test your restores. A backup that has never been restored is an assumption. Once a quarter, restore a fresh archive on a test server with --new-instance.
Updates
tracker-ctl update
The command shows the versions, asks for confirmation, downloads the images, applies migrations and waits for the core to come up. A failure at any step triggers an automatic rollback to the previous version.
Auto-update has three modes: off, notification about a new version only (the default), and install with a backup beforehand. In the last mode the tracker, once a day in a set window, makes a backup, updates itself and rolls back on failure.
Summary
The day-one checklist:
- a server with NVMe and disk headroom for your click volume;
- domains with an A record pointing straight at the server;
- installation with one command, and the summary with the password saved;
tracker-ctl doctorreports no issues, and two-factor authentication is on for the administrator;- the backup encryption key is stored off the server, and a scheduled off-site copy is set up;
- a test restore has been run on a test server.
Details are in the documentation: installation, instance maintenance (in Russian) and the FAQ (in Russian). What running the tracker involves is collected on the operations page (in Russian), and the case for all of it is on the self-hosted page.